"I am and always will be the optimist. The hoper of far-flung hopes and the dreamer of improbable dreams." The Eleventh Doctor The Almost People
Here it is mid-October and I started this the last day of July. I still have a ways to go, but the time I have spent building this has been quite a journey. I realize that borders on cliche, but it is what it is...I spend as much time thinking about where this 'box' will take me as I do swinging a hammer.
I can visualize my trip, I can ruminate on it, but I have a hard time writing about it, here, in this blog. I'm thinking this blog is harder to write than the studio is to build!? However.....
Here is the progress thus far:
 walls
walls
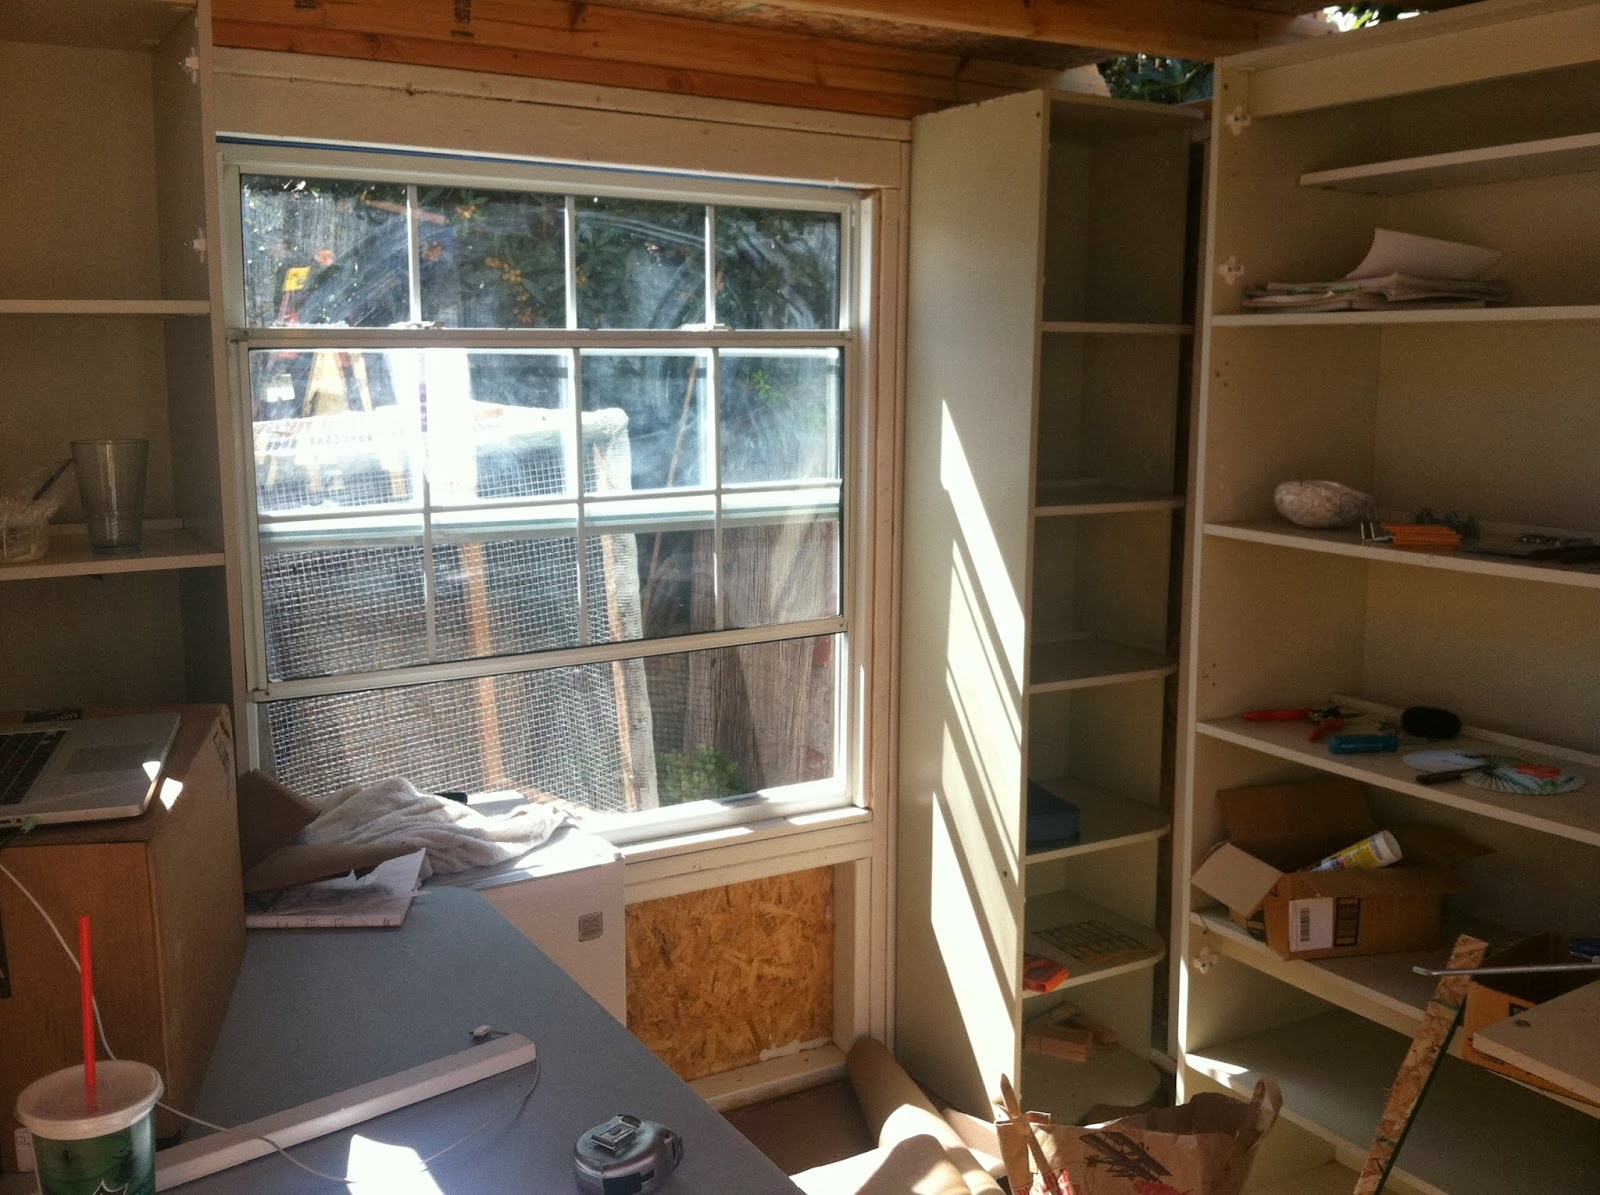
windows


 doors
doors
more windows

Dormers


Rafters


Lofts


Views

Phews

Me

My design add-ons (the windows and dormers) were certainly challenging, to say the least. I would like to say that I am taking my time, but truth be told this is hard work and my learning curve is....steep, Mt. Everest steep. It's really a great experience, you should try it! (I'm being snarky right now).


